Creating a Garden
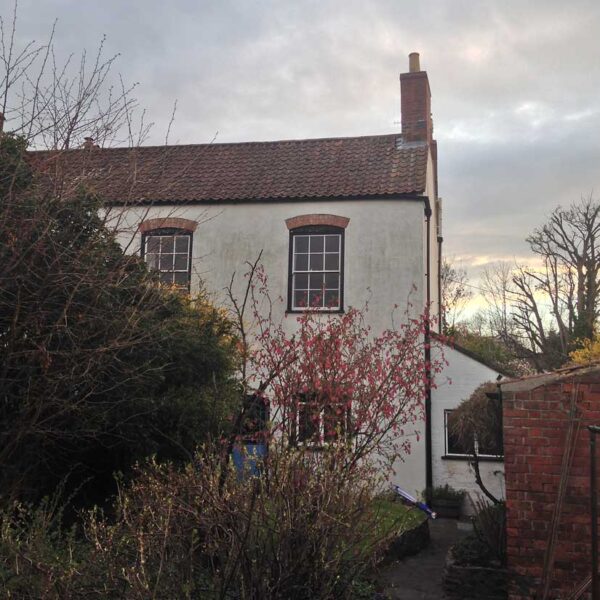
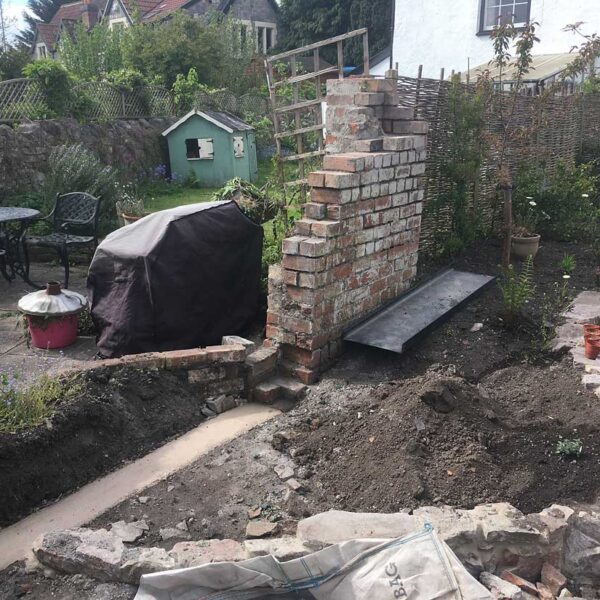
This was the bit I was really looking forward to. Following all the building and ground works, the garden now resembled the Somme and we pretty much had a blank canvas to build something completely new. I had spent well over a year borrowing books from the library, making drawings and imagining what this space could be like. One book I returned to time and time again though, is one that I have owned for years now: The Complete Gardener by Monty Don. This has been as important to me in informing my approach to the garden as The Old House Handbook has been in my restoration of the house. It covers everything from how to establish an organic system to the correct way to eat a pear (the latter written in a slightly erotic tone).
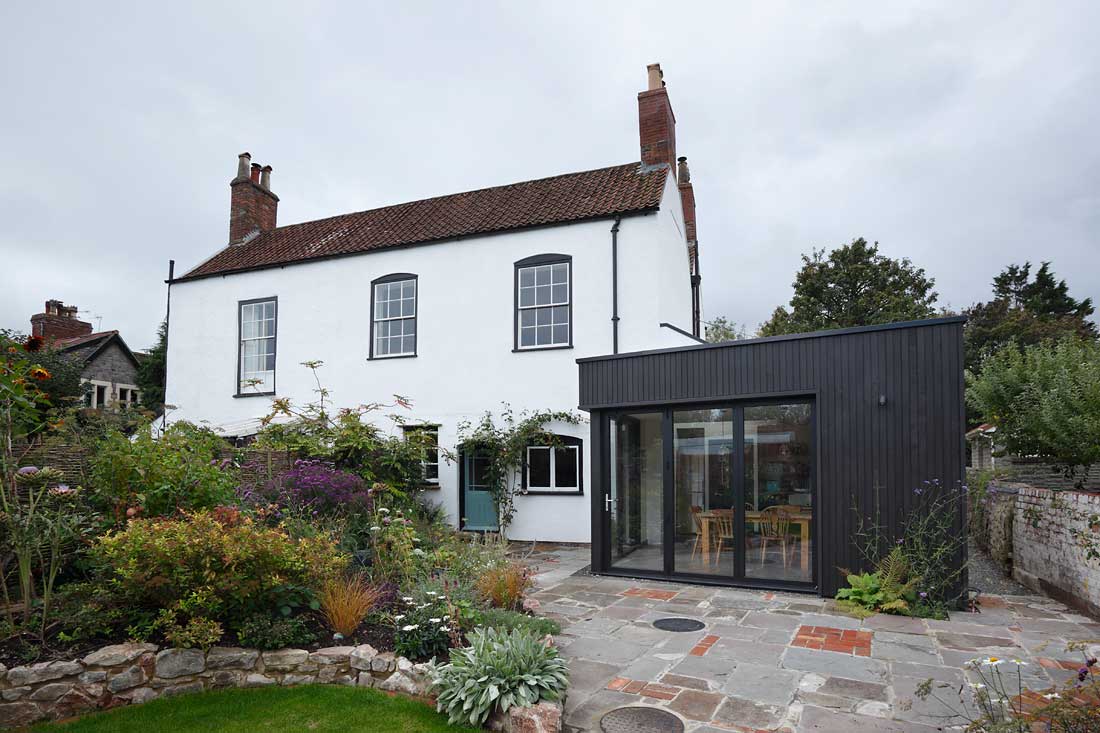
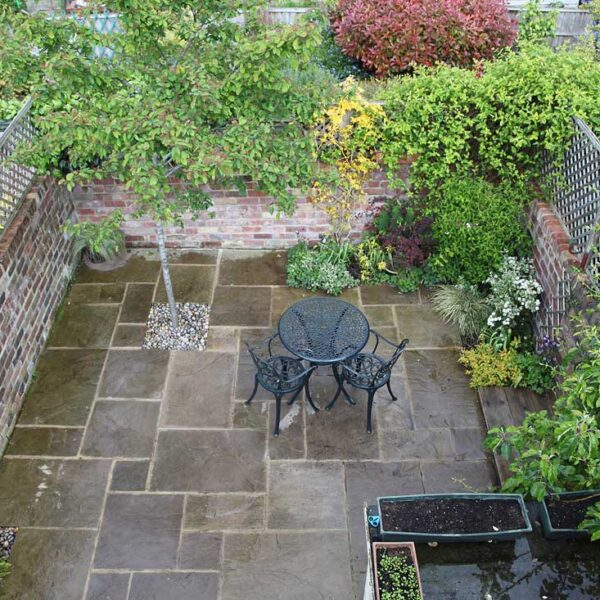
The idea with this back garden was that it was for grown-ups. The much larger garden is at the front of the house and this is where the kids have their trampoline, their den in the hedge, and where they can tear up the grass playing football. The back though is very much an extension of our indoor space and we wanted it to be a joy to look at and spend time in pretty much all year round. It certainly isn’t a big space but by south Bristol standards, it is plenty to be getting on with.
Phase 1: Ground Works.
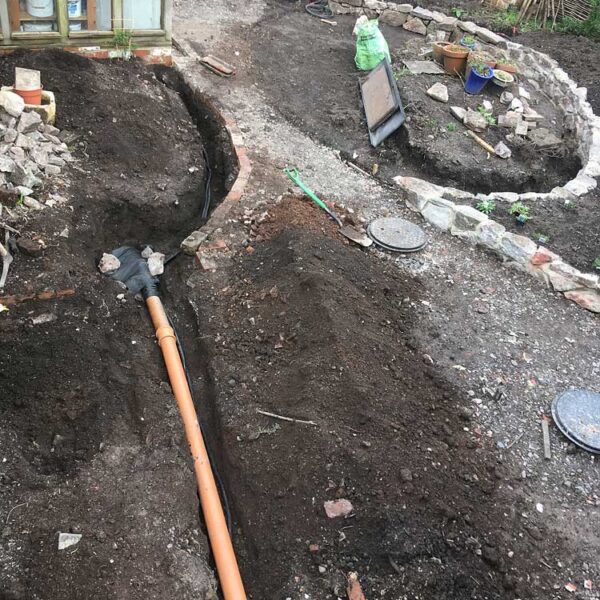
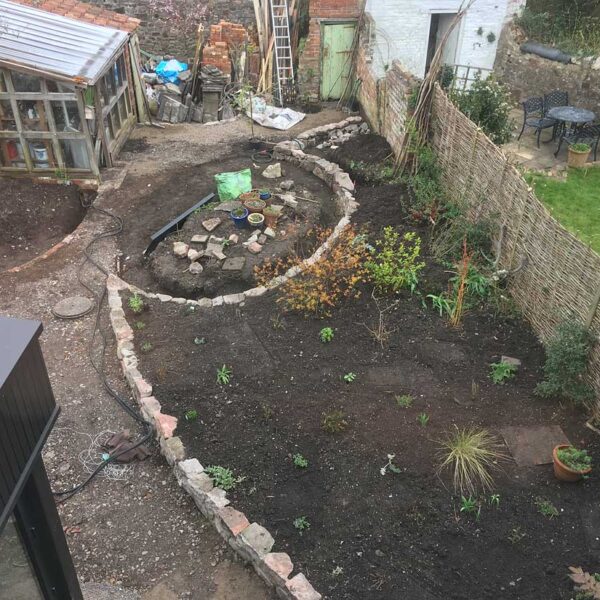
The first job was the boring but necessary task of burying the French Drain for the extension, and the cables carrying power and lighting to the greenhouse and the bottom of the garden. Then there was the massive job of moving earth around to adjust the levels using just a shovel, a wheelbarrow and a network of stakes I had driven into the ground and calibrated by spirit level. There is a significant sloping of the ground from one side to the other and I decided to combat that by building up the lower side so that the paving and lawn would all be level with the kitchen floor. The main border would remain slightly elevated behind a low stone wall which I built from stones saved from the original garden landscaping.
Phase 2: Hard Landscaping
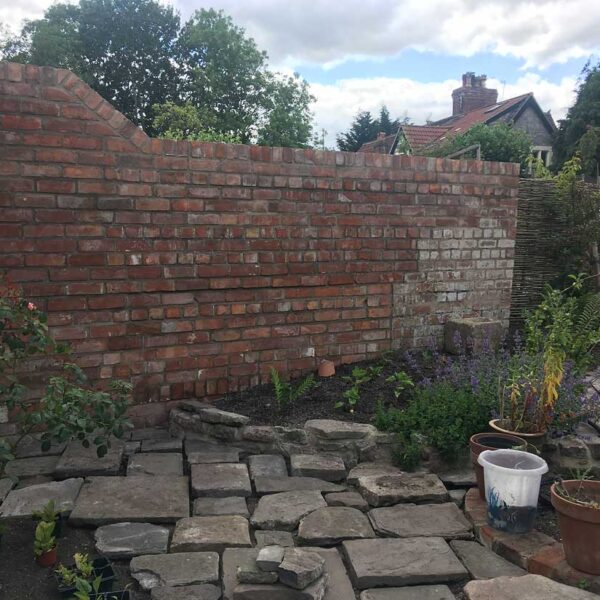
I had saved all the flagstones from the original garden and the garage floor and now it was time to re-lay them. Some were truly enormous stones that took a hell of a lot of shifting and they were all different thicknesses, so I had to either dig out or build up the hardcore beneath each stone to achieve a level finish. There weren’t enough to cover the entire area so I introduced areas of brick laid in a basket-weave design using some of the bricks saved from dismantling the garage. Other garage bricks were used to restore a wall that was falling down at the bottom of the garden and the parts of this wall that were still standing, I re-pointed with lime mortar. This was all heavy, tiring and deeply satisfying work…I don’t think I have slept so well before or since!
Phase 3: Planting…hooray!
In moving all the soil about, I also removed all the perennial weed roots filling three green bins in the process! Bindweed had been a particular problem and while most people may have found this work arduous, I was comforted by Monty Don’s assertion that ‘no amount of time and effort spent preparing the soil is ever wasted’.
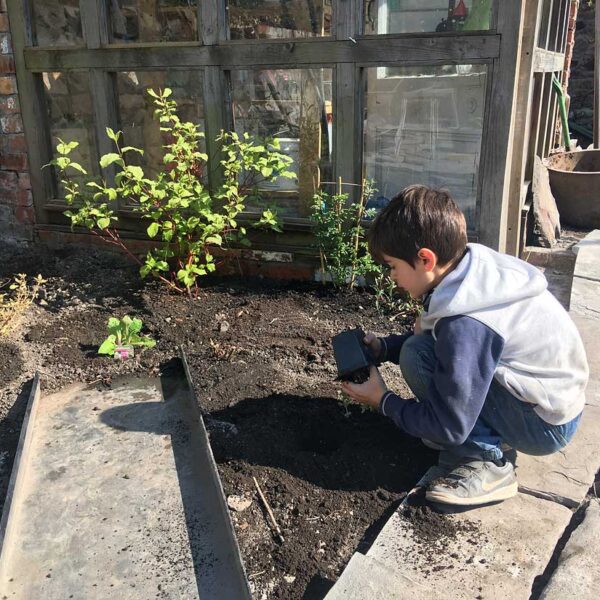
Into the lovely weed-free soil went an assortment of tiny perennial plants that our local garden centre were selling for £2 each. The children all got to choose their own plants and the rest was made up of pollinator friendly species such as Verbena bonariensis, Nepeta and Salvia. These looked ridiculously small when first planted but I was confident they would establish quickly and it is better value to plant small, cheap plants than pay three times as much for larger pot-bound specimens. To further save on costs, we grew a lot from seed. Foxglove and Bronze Fennel were particularly successful but also Echinacea, sunflowers and Ammi visnaga. This was a good way to fill all the gaps of an establishing garden and it left enough in the budget to spend on shrubs such as roses and dogwood (great for midwinter colour) and the most important thing for me, a selection of trees.
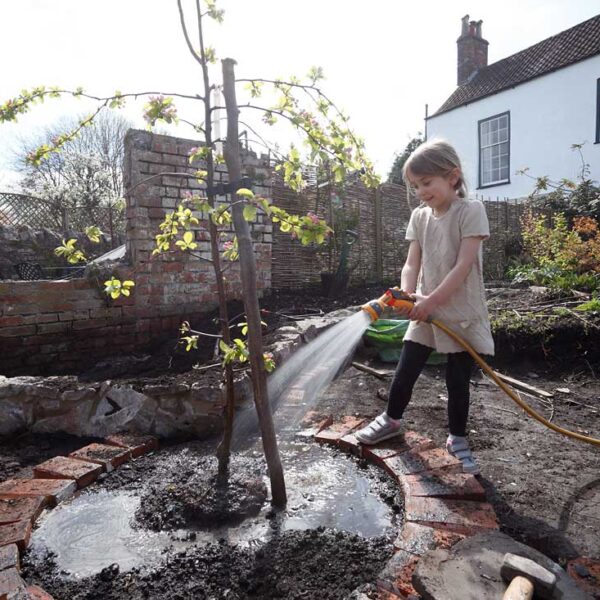
I like to plant trees wherever I go. It almost broke my heart to leave the Amelanchier I planted at our last house…after eight years or so living there, it had very nearly reached maturity. We had already planted two cherries when we moved in here and they were taking really well. We decided on a further five crab apple trees. I love the gnarly way apple trees grow and the fact they have blossom in spring and hold on to lovely coloured fruit well into winter means they really earn their keep in small gardens.
By the end of the summer, everything had filled out and flowered nicely attracting all sorts of butterflies and birds to the garden. I’ll have to be patient with the trees but I look forward to the dappled shade and structural height they’ll lend to the garden in the years to come.
A quick note on saving and reusing material. A landscaping project such as this would probably normally be quite expensive judging by the amount of material required and the time and effort to build it. However, by saving so much material when I dismantled the garage and lean-to, the only things I had to bring on site were cement, aggregate and of course plants. The costs were roughly as follows:
Trees x 7 – £300
Herbacious plants and seeds – £50
Shrubs – £150
Cement and aggregate – £200
Turf – £50
Total cost – £750 approx.
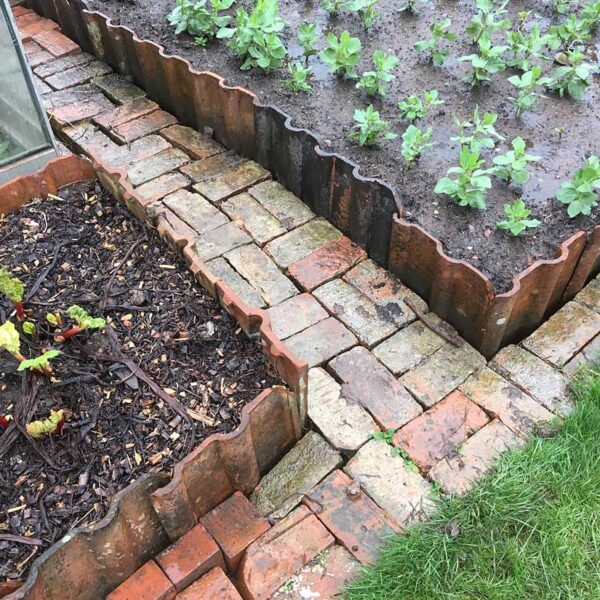
What is more, I had several roof tiles and bricks left over which I have been using on my allotment only 5 minutes walk away to make raised beds and pathways. The reusability of materials is a big advantage of the lime mortar technology used in old buildings and well worth noting as we become (hopefully) a more resource conscious society.







Rosemary
James, you are phenomenal! All this and you have an allotment!!!
James Osmond
Yes, that was a particularly busy year…I slept well at night!