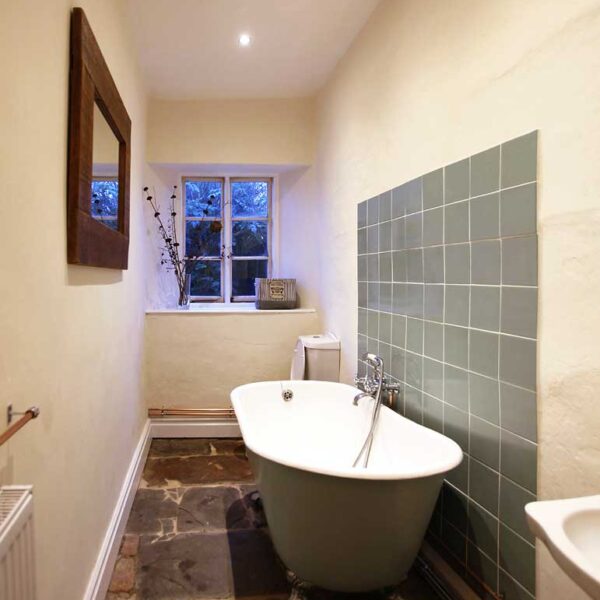
Adding a Bathroom
Having been advised to live in the house and get a feel for it before making any alterations, it quickly became obvious that with 3 children we weren’t going to cope very long with just one small bathroom incorporating the only toilet in the house. At the very least, we were going to need another toilet, preferably as part of an additional bathroom if we could find a way to fit one in.
There were a number of factors that needed to be considered, including:
- Not reducing the number of bedrooms (we’d need all of them once the kids are teenagers).
- Not spoiling the exterior with unnecessary ugly pipe work.
- Keeping disturbance of internal building fabric to a minimum.
- Impact of low ceilings at the front of the house on the function of a bathroom.
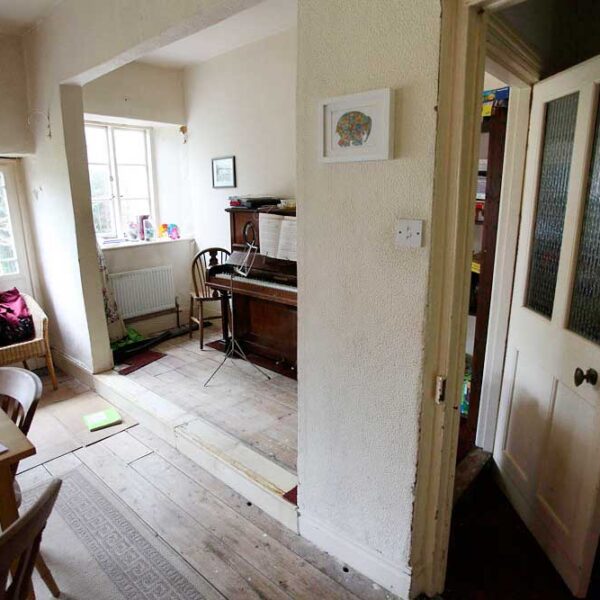
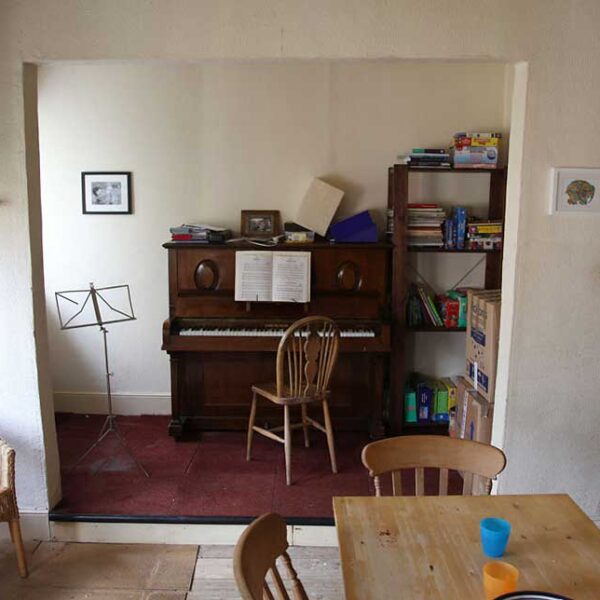
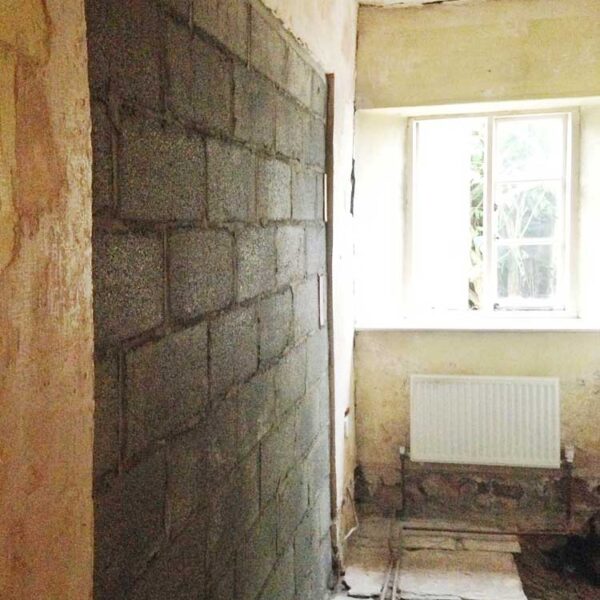
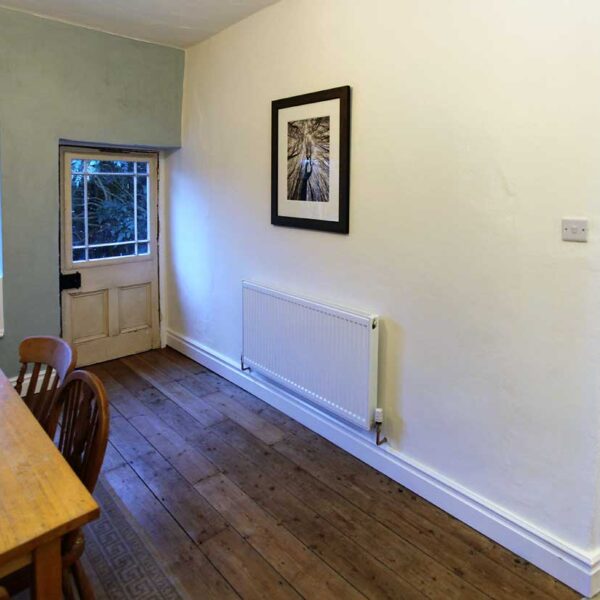
At the same time as thinking through these problems, we were also trying to work out the unusual situation in the dining room. As far as we could tell, a section of wall had been removed in a slightly clumsy attempt to enlarge the dining room into a small room next to it (which we think might have originally been part of the entrance hall before the building was divided into two). The smaller space had a higher floor level though, so you needed to step up onto what felt like a stage.
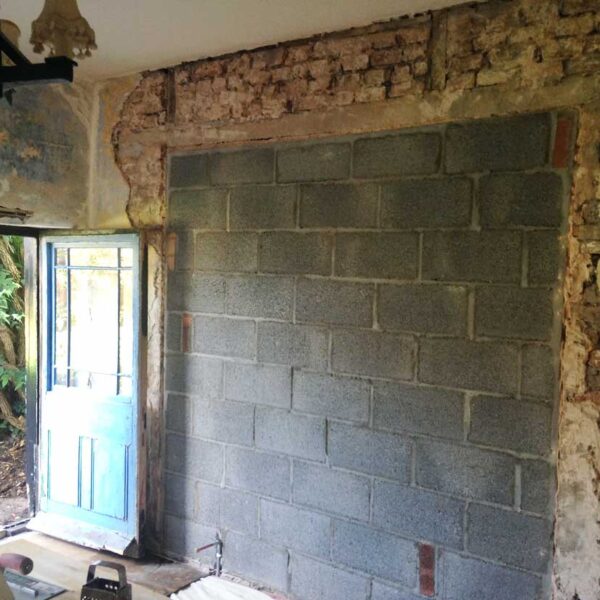
The space didn’t really make any sense like this so we started to formulate a plan to replace the missing section of wall and convert the smaller room into a ground floor bathroom. It would need careful thought as the room would be narrow but otherwise, this seemed the obvious solution to meet all the criteria mentioned above. I applied for and received Listed Building Consent and the project went as follows:
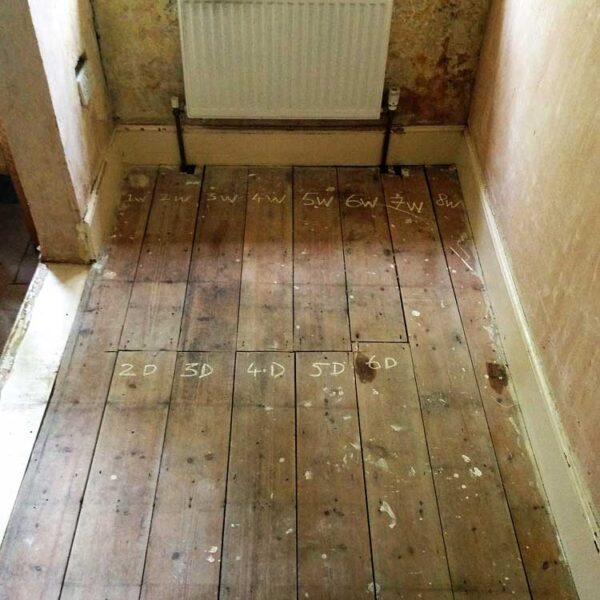
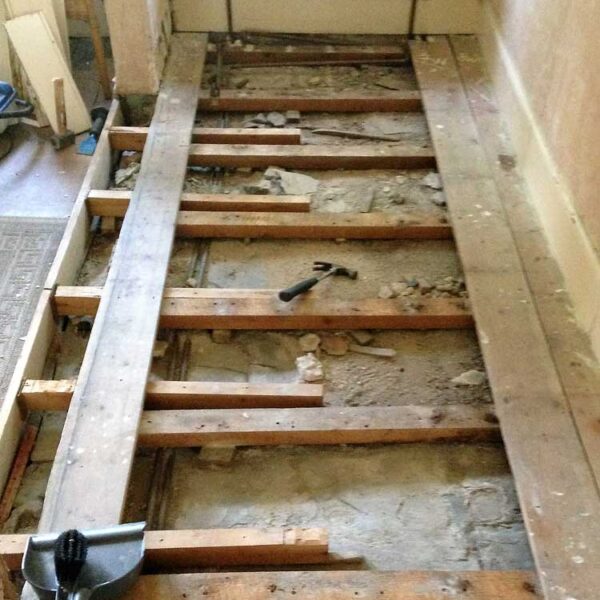
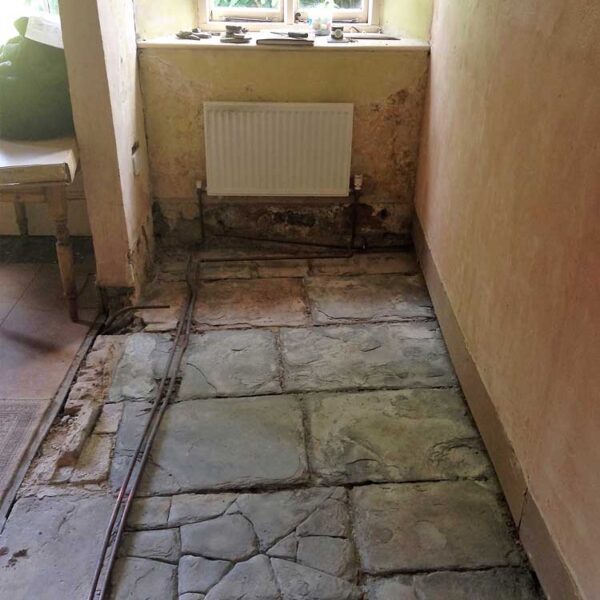
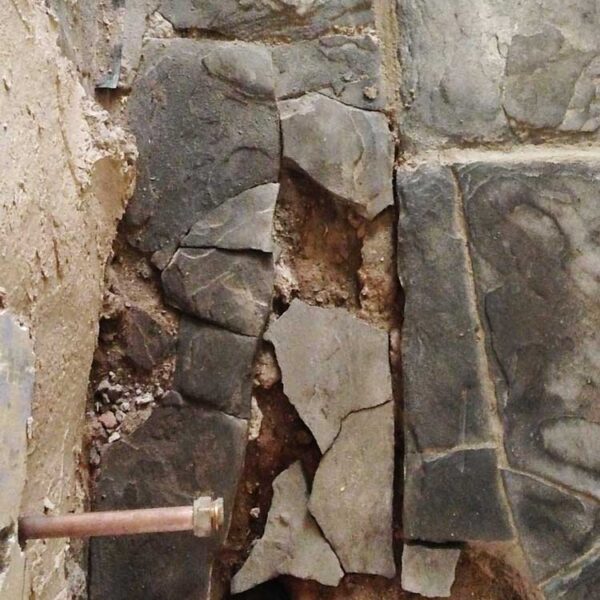
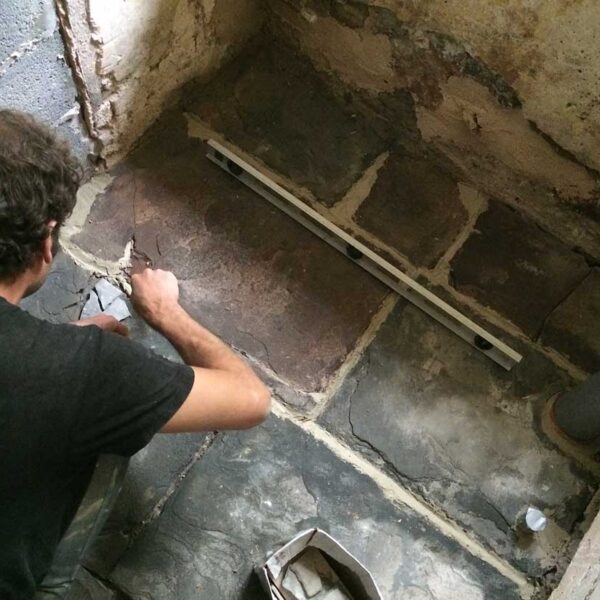
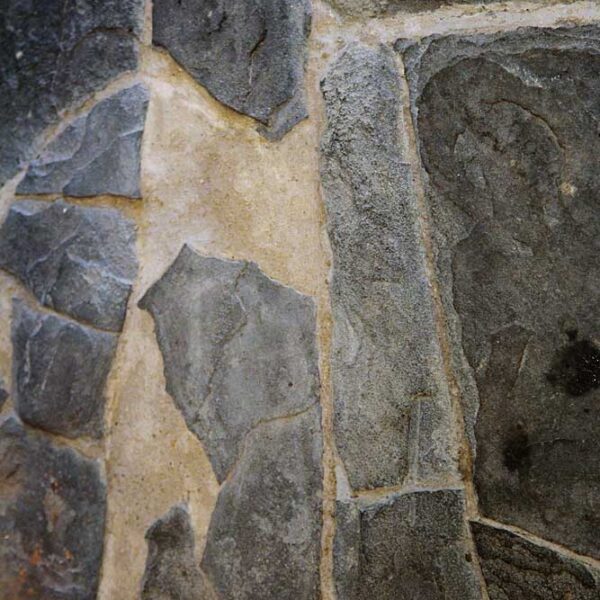
Exploration. I lifted a couple of floorboards in the raised section of floor and discovered original flagstones under an inch of dirt and rubble. Some of these had been smashed to accommodate pipes for the central heating, but the broken pieces were there so I kept them for later. I decided to remove the entire false floor, clear the rubble and assess the overall condition of the stones. They were a bit flaky and uneven but generally sound and potentially beautiful once mended, cleaned, re-pointed and waxed, so it seemed only right that this should once again become the floor for this room.
Once the wallpaper was stripped, I noticed one of the walls was a false wall of studwork and plasterboard. I was reluctant to remove this at first as I had no idea what sort of horror it might be covering up, but it was stealing precious inches from the width of the room and was conspicuously flat compared to the wobbly, lime-plastered end walls. I decided to remove it and deal with whatever lay underneath, which turned out to be a beautiful, wobbly, original, lime-plastered wall with some patching and cracks but nothing too major.
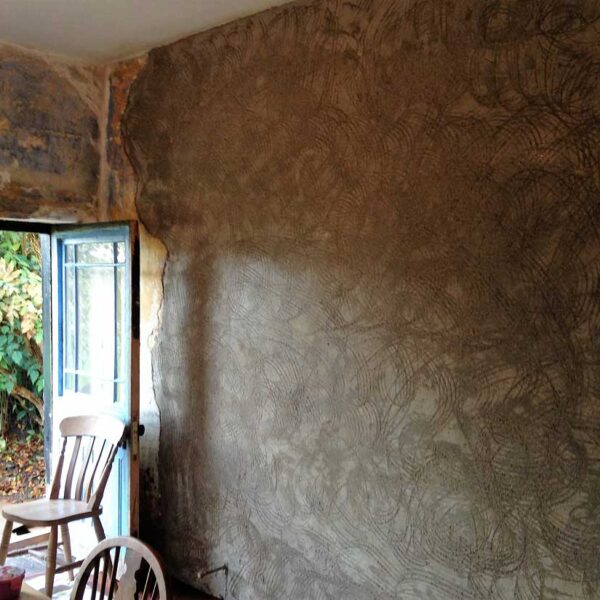
Building. We employed a very pleasant chap called Vandy to lay the concrete block-work wall and to run the soil pipe through the external wall to connect to the foul drain (which conveniently ran just the other side of the wall). The external walls are half a metre thick and made of hard stone and rubble so it is no simple task to burrow through it, however Vandy and his men managed to complete all the work in a day. We decided to use modern block work rather than reclaimed bricks to replace the internal wall, so that this work could be dated to our time and the history of alterations to the building could be read more clearly in the future. It had to be finished in lime plaster though, and we were struggling to find a lime plasterer who could do the work in the timeframe required, so I decided to go on a course and learn to plaster using lime so that I could carry out this job (and no doubt several similar jobs in the future) for myself. For this, I booked a full day lime plastering course at Ty Mawr, a wonderful Tudor farmhouse in the Brecon Beacons that manufactures lime products and runs courses on how to use them. Not only was this an idyllic place to visit, it was really heartening to mix with like minded people who understood why I was being so meticulous about this project. They were all in exactly the same boat as me, taking on similar projects in places like Gower and Dartmoor. With this bit of training behind me, and several sacks of lime plaster delivered, it was time to dive in and give it a go.
I guess in many ways, this is an ideal house for a novice plasterer because all the walls are a bit wobbly after hundreds of years of movement, patch repairs and so on. My reasoning was that if the finish on my new plaster was too good, it’d stand out like a sore thumb, so the fact that there is a visible ridge where my plaster meets the historic plaster, though an accidental result of my inexperience, looks entirely appropriate in the context of the overall character of the house, (that’s my story anyway and I’m sticking to it!).
Finishing. Having gone to all the effort of restoring, repairing and replacing the breathable lime plaster walls, it was important to finish them with breathable paint. Using a vinyl ‘bathroom’ paint would essentially seal up the wall preventing any moisture getting in or out, which may superficially seem like a good idea but in a small bathroom like this with no extraction fan (the idea of drilling though the thick rubble wall to fit one was enough by itself to put me off even applying to do so, never mind the aesthetic implications), it is likely that steam would condense on the surface and sit there, eventually leading to mouldy walls. The idea of a fully breathing wall of lime plaster and breathable paint is that the walls absorb excess moisture when the bathroom gets steamy, then releases the moisture back into the room slowly when the atmosphere is dryer. It’s a kind of storage heater for moisture if you like. Whether it works in fully preventing any mould formation will take a few years to determine but so far, so good. The ultimate breathable paint is lime wash, but this does have a tendency to be slightly chalky and can rub off on clothes which wouldn’t be ideal in a narrow room like this, where people are likely to come in contact with the walls regularly. Instead I opted for Earthborn Eco Pro emulsion, which isn’t bad value for a breathable, eco-friendly paint but annoyingly, tester pots are not available. Being fussy about colour, I had to fine tune the paint with the addition of a little pigment here and there, but it’s lovely stuff to use with no VOCs and I’m very happy with the matt finish.
Having a solid stone floor meant that there was nowhere to hide the plumbing but to tell you the truth, I rather like copper pipes so rather than attempt to box them in, I asked our plumber Dave Hunt (www.drhplumbing.co.uk) to run them neatly around the wall and to use stainless steal waste pipes. I’ve since painted them with clear lacquer to maintain the shininess of the copper.


