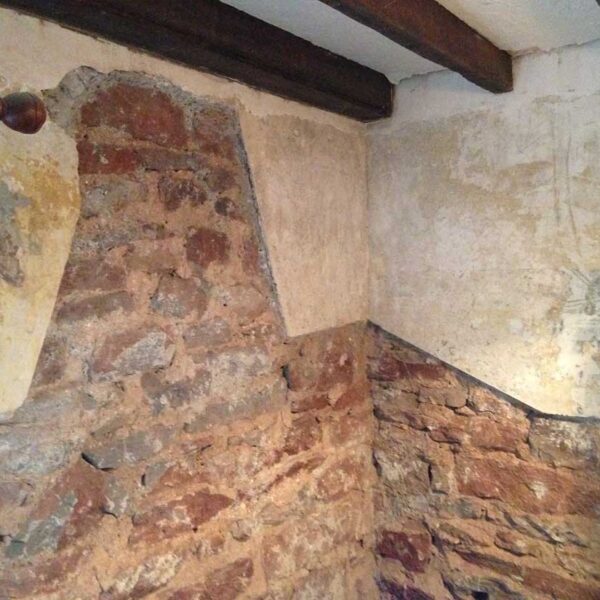
Wet Walls
It was immediately clear on first viewing and on the result of the building survey that there was a major problem with the front and side walls on the ground floor. According to the surveyor, the damp readings were ‘off the scale’ (I envisage the scenes in Ghostbusters when their Geiger Counter things detect a ghost).
Damp is a common issue in old buildings and can be caused a number of ways. There were 3 things that we could see straight away that were all likely to be contributing to the problem:
- Cement render around the base, up to about 1m height
- Damaged render above this
- Raised ground level against the front wall.
Cement render is an issue in an old building like this because it doesn’t breathe like lime render does, which means that any moisture getting into the wall (via the damaged render and the raised ground) cannot evaporate out, so builds up and eventually penetrates through to the inner wall. My building survey recommended I have the inner wall ‘tanked’ (essentially sealing the damp in) which is terrible advice and goes to show that not all qualified people in the construction industry know how to treat old buildings. Fortunately I had the Society for the Protection of Ancient Buildings (SPAB) to turn to for better advice, as well as my architect friend who specialises in historic buildings. They both concurred that the best remedy was as follows:
- Lower the ground where it had built up against the wall
- Hack off the cement render and the patch of damaged render
- Leave the exposed stone and rubble wall to dry out during the summer
- Re-render in lime at the end of summer
As this was April, and I wanted to tackle the damp issue in the first year (because it was holding up further progress inside the house), I had to get a move on. Because I was proposing a patch repair to the render, I could carry out the work under a ‘Certificate of Lawfulness for Proposed Work to a Listed Building’. While this might be more of a mouthful than ‘Listed Building Consent’, it is much quicker and easier to have approved so while I waited for the go ahead, I set to work digging out the flower bed and lowering the ground level (sometimes with the ‘help’ of my 2 year old daughter Lucy).
Once I received my certificate it was time to get that render off. Easier said than done. Cement render is seriously hard stuff and even with the SDS hammer chisel I’d just invested in, the average rate of removal was about a square foot per hour (and I must have gone through about 4 chisel bits). Progress was slow but rewarding because each clump of cement that came off revealed wet stones and soggy lime mortar joints, reassuring me that this was a job worth doing. It was as though I could hear the building gasping for breath having been smothered for 60 odd years.
I managed to get off all the render I wanted to remove by the start of June and I had booked a good local lime renderer, Stewart McCormick in Long Ashton, to recoat at the end of September. This gave the walls a good 4 months of summer to start drying out, and luckily it was a pretty dry summer. I also removed the loose, failing plaster from the inside to help the drying out process, as this would have to be replaced anyway. This was a lot easier as it was lime plaster and so loose you could virtually talk it down. The danger in removing a patch of lime plaster is knowing when to stop. I didn’t want to remove more historic plaster than was necessary so I defined straight edges by sawing into the plaster with a standard carpentry saw, thus cutting the lattice of horse hair that binds lime plaster. This horse hair is what gives lime plaster such amazing flexibility and holds entire walls of plaster together, even when almost completely detached from the backing. That’s why it needed to be cut, otherwise I could have ended up ripping off the entire wall of plaster.
Come September, it was time to recoat and Stewart and his crew were excellent and efficient. They used a mix based on moderately hydraulic lime (NHL 3.5) applied in three coats leaving each coat for a week, protected with damp hessian, before applying the next. The final finish was interesting to watch. On the side elevation, a lime slurry was splattered on with a tyrolean gun to match the original lime finish on the rest of this elevation, but at the front there is a different texture on the existing render which Stewart managed to match using a heavily repaired soft dustpan brush which he’d had for 25 years…such a lowly tool to have carried out hundreds of thousands of pounds worth of quality lime render finishes.


